Input Text ON Main Menu
You can test run this project in your browser to see how it works.
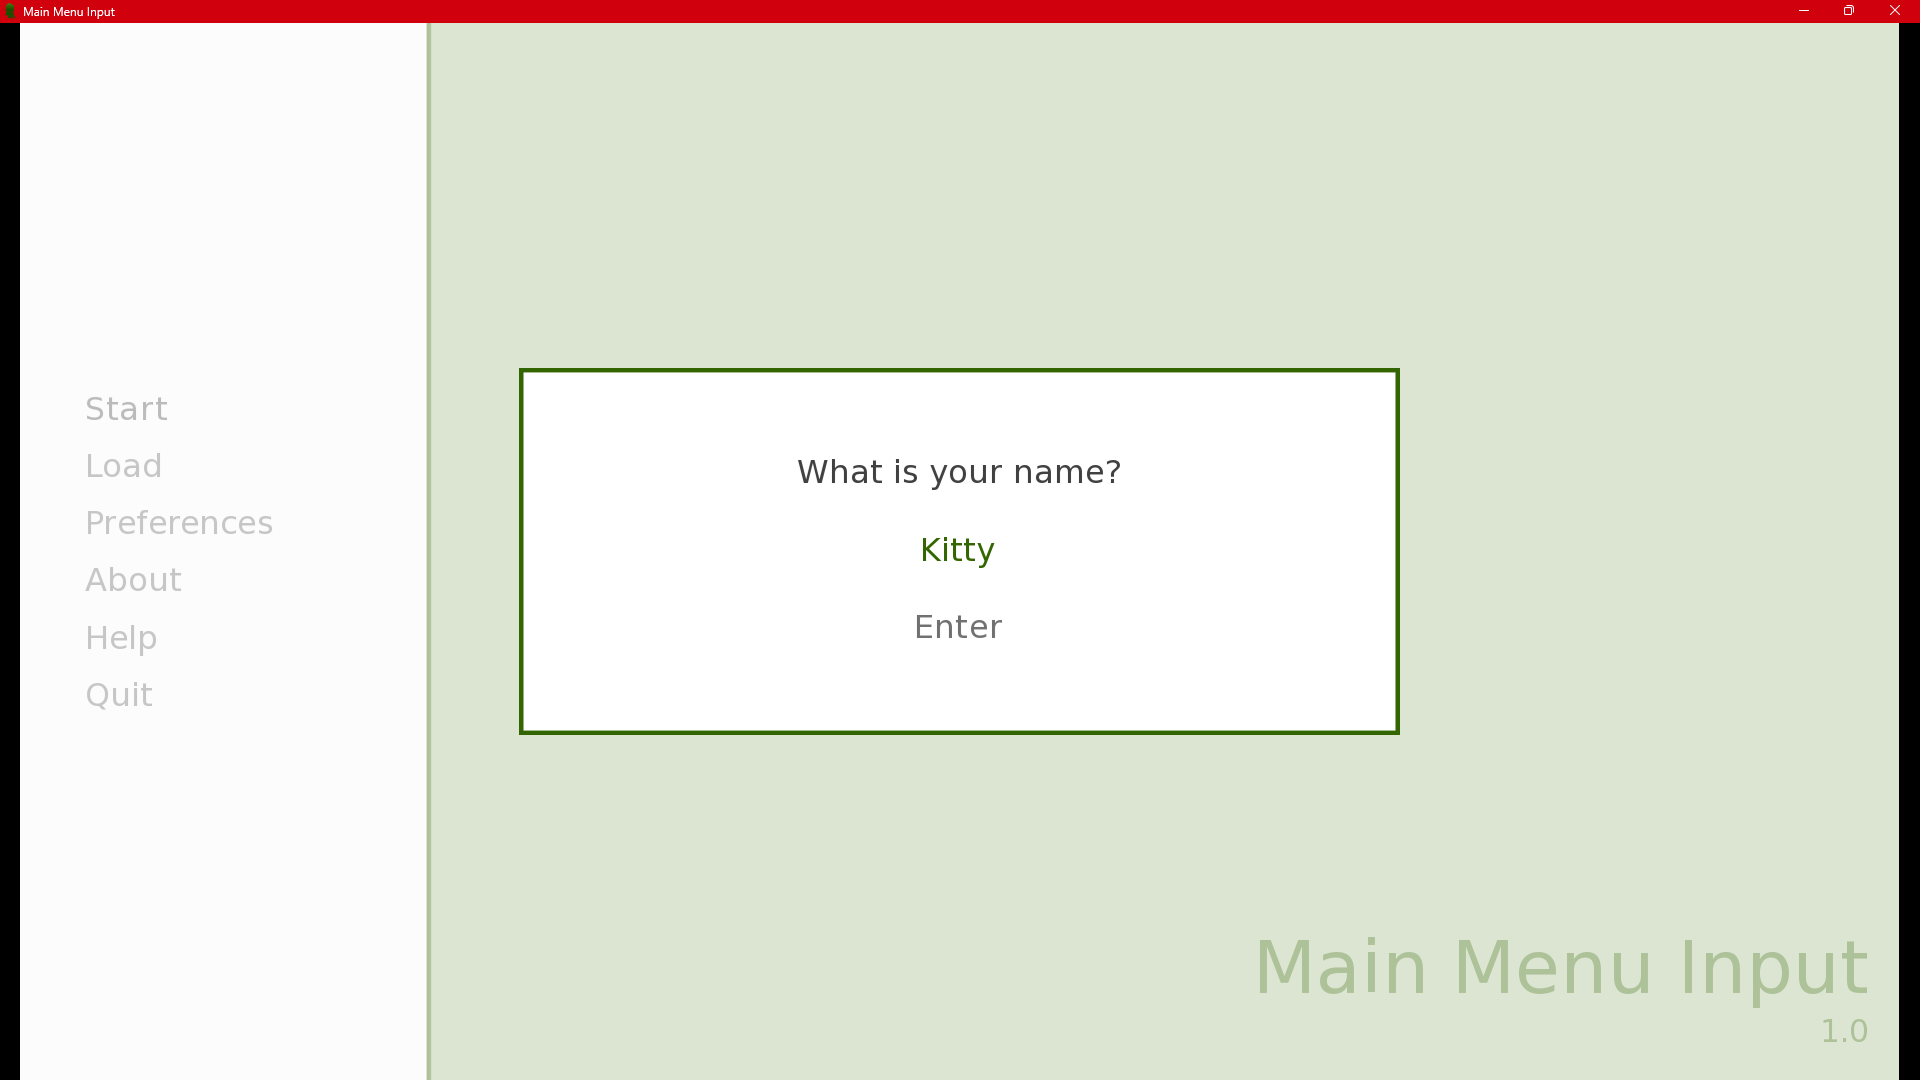
I know a lot of people have played Doki Doki Literature Club, and some are interested in how to get an input box on the main menu. That just means when a player clicks "New Game" (or whatever you have it set as), a box shows up asking for the player name, that doesn't allow the player to click anywhere else until they enter an input. This input value can of course be changed to whatever you want, if not a name.
I spent a few (way more than I should've) hours working on this last night, which wasn't easy. I got code from quite a few different sources, but here's how this works:
- You can either use this project as a base file. You will need to unzip it and add it to your "renpy-build" folder (where it should show your other projects). Open your Ren'Py launcher, and now you can access its scripts via your choice editor. I still use Atom because I hate VS Code, but it should work regardless of your software.
- OR you can copy the necessary code from my project into yours. This includes code in the screens.rpy file and a little bit in the script.rpy file. If you go this route, I will show what exactly you need to paste.
There are also two versions of the caret. That's the blinking cursor that appears when you're typing in a textbox. I commented out the code that turns it transparent once I figured out my issue, but if you would rather not have it, you can uncomment the section. You'll also need to keep the "caret.png" file if you want it to be transparent. If not, feel free to get rid of it and the code. The other option is a caret that blinks slowly and moves as the player adds more letters to their input. It's just like DDLC.
You'll need to make sure you at least have a "confirm.png" image in your gui/overlay directory, and a "frame.png" in your gui. As long as you have these files, your code should run fine.
HOW TO INSTALL CODE into existing project:
- Open: "MM Input\game\screens.rpy" and "YourProject\game\screens.rpy"
- Scroll to line 280 if you want the caret code. Add this code somewhere in your project's screens.rpy file, outside of any function. For easy access, you can reference where I wrote mine. If not, skip this step.
- Scroll to line 300. You will need to copy all of the code in the input() function, I recommend keeping the comments to easily reference the use of lines. Paste into your project screens.rpy somewhere, again I recommend above the "Main and Game Menu Screens" where I wrote mine.
- Scroll to navigation() in your project screens.rpy. Within the "if main_menu:" code, find the "textbutton _(Start) action Start()". Go back to MM Input screens, and copy line 371. Paste this over the start button code. This rewrites your main menu code. If you don't add this line, your game will completely skip the input box. Make sure you change the action to "action ShowMenu("input") like it says.
- You're doing good if you made it this far. Go into both script.rpy files now. Copy lines 6 to 16 in MM Input script.rpy, and paste them before your game's start label. This can be after your define statements. Line 9 CANNOT be changed from default to define, it will give an error. And you must keep the three lines of code below it, otherwise the player can access other buttons, and the input won't be called.
- Save all your files and test run!
If you run into any errors, please let me know! I am more than happy to help. I am still a novice coder, so this amalgamation of code is not nearly the cleanest it could be. But I really wanted this to be in my game, so I figured it out. And I couldn't just keep it to myself. I hope this helps you!
I also plan to record a tutorial for this shortly. Probably within a week. Sometimes videos are easier to follow along with, and I want anyone that likes this idea to be able to use it.
EXTRA STUFF:
This asset pack has a Creative Commons Attribution_NoDerivatives v4.0 International license. That means you cannot modify it, but it can be used in commercial works with credit to me. Buuuuuuut... since I couldn't find a license that doesn't require attribution, allowed for commercial use, and couldn't be modified, that's what I compromised with. I don't care if you credit me. You can also modify this product UNDER THE CONDITION that you DO NOT sell the modification. If you want to discuss with me an alternative to modify this product and sell it, you will need to significantly change it (for it to basically be your own), and you MUST contact me first. I will eventually write this up in a custom license, but for now, just know:
- This asset pack can be used in your commercial or non-commercial games (paid or free), and can be modified to your liking FOR YOUR GAME
- This asset pack can be used without credit to me
- This asset pack can be modified
- A modified version of this asset pack cannot be sold as a standalone product
- If you wish to sell a modified version of ONLY the asset pack (not a game with modified code to the asset pack), you MUST get my permission first
- You don't need to ask me to use this asset pack in your game
If you use this asset pack, I'd love to see what you make with it, but it isn't necessary. This product is completely free and forever will be. If you want to donate you can, but I'm only uploading this because I know a lot of people want to have this feature and couldn't figure it out.
IF you want to credit me (not necessary), please credit/link ryufangirl.itch.io/ OR Kipx.
Again, if you have any issues, feel free to copy the markdown or screenshot and submit it in a comment for me. I will try to get back to you within a week of your post, but I am a student so I may be busy at times.
Thank you for checking this out!
Download
Click download now to get access to the following files:
Development log
- Main Menu Input 1.0 OFFICIALLY OUT!Jan 24, 2026
Comments
Log in with itch.io to leave a comment.
Thank you so much for this awesome asset! Curious, is there any way to have characters say the inputted name in dialog?
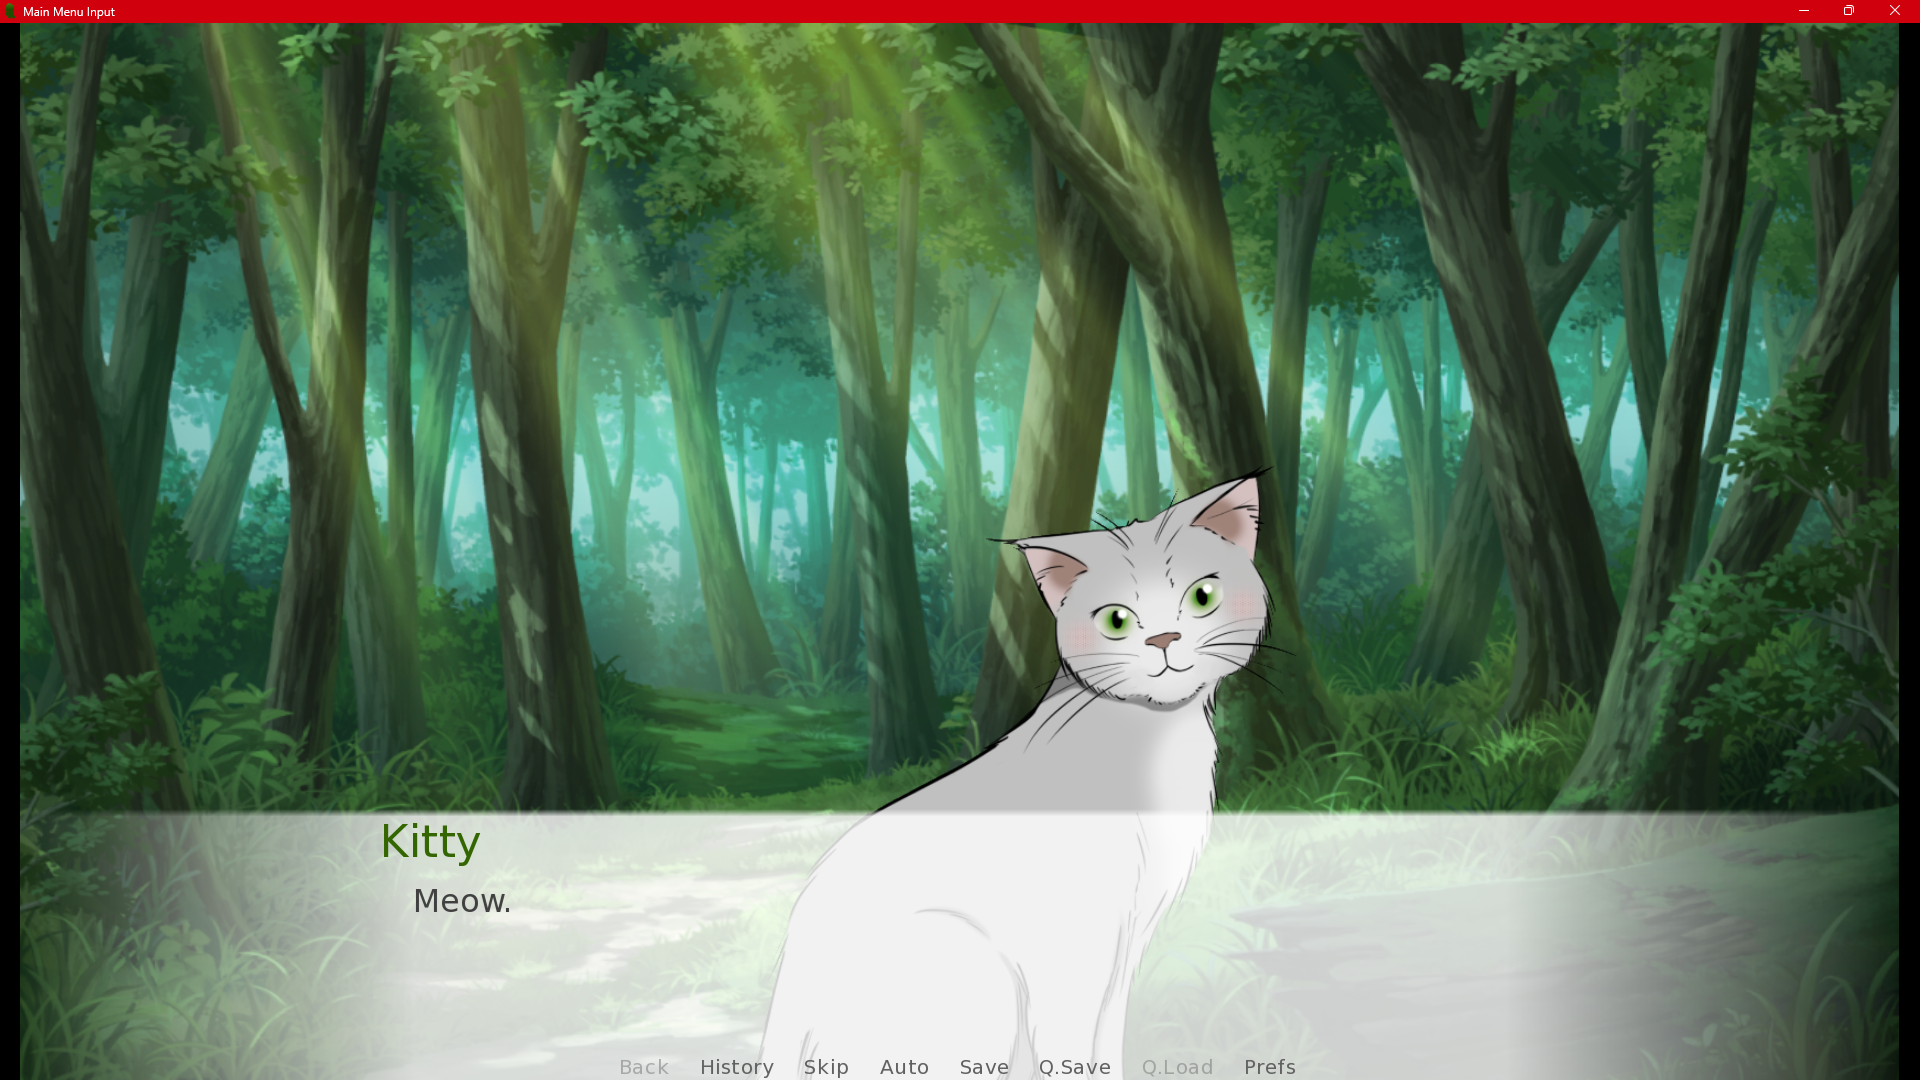
Of course!! I'm sorry for the delayed response, but yes, you can have characters use the inputted name. The variable for the input is called "name" and can be found at the top of the script.rpy. You can change the text in quotations to be the default name (when start is clicked, it automatically shows that name, which I made "Kitty"). To have the name be said in dialog, simply use the character tag and variable within the line.
Ex.: kitty "I can't believe your name is [name] too!"
If you need any other clarification, please let me know!! I'm glad you've found some use for this asset. :)
I got the error:
typeError: missing a required argument : 'prompt'
It's working now, Thanks a ton!
Sorry I didn't get back earlier! Let me know if you run into any other problems. I hope you like it so far!